
As a business owner or solopreneur, you know how important it is to have professional, well-designed business cards. Your business card is the tangible representation of what you do and who you are, that people will take away after they meet you. You want this card to represent your unique value and communicate exactly how you can help them.
While you may not have the money (or the time) to invest in professionally designed business cards at this stage, Canva is a stellar resource for non-designers who want to make an excellent first impression with potential clients and contacts, and designing a business card in Canva is relatively easy.
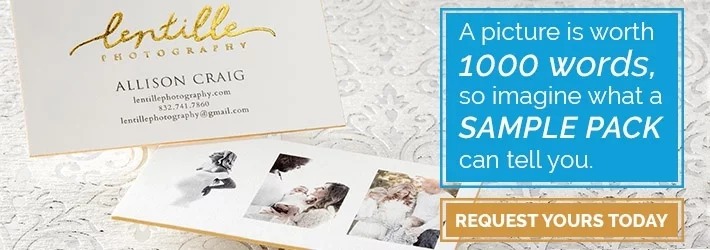
Related: I’m a Photographer. How Should I Design My Business Cards?
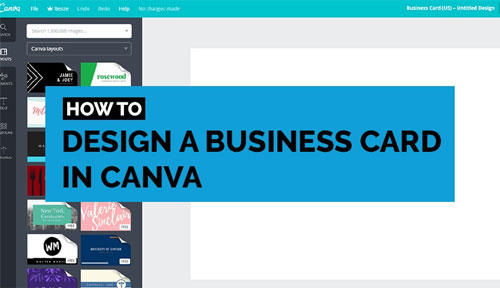
How to Design a Business Card in Canva
Canva is a user-friendly program that allows drag-and-drop functionality for your graphic design needs. Once you become familiar with the program, you can create beautiful designs in a matter of minutes. You can also go back into the program at any time to make updates to the file without having to track down your graphic designer.
The following will help you go from the initial concept, all the way to printing.
Click the “Create a New Design” Button
When you visit Canva, you’ll see a button to Create a New Design. Scroll through the options and look for Business Card under the Marketing Materials section.
Choose the Business Card Layout
Once you’ve clicked on Business Card, you’ll see several tabs on the left hand side of the screen including: Search, Layouts, Text, Background, and Uploads. The program will automatically bring you to the Layouts tab where you will have the opportunity to choose from hundreds of free templates and several paid (but inexpensive) templates or designing one of your own. In order to select a template, click on your choice and drag it into the workspace on the right hand side of the screen.
Add Company Name, Contact Info, and Custom Text
Once you’ve chosen a template (or decided to proceed without one), it’s time to start adding your text. If you are using a template, just click into the pre-existing text boxes and replace the text with your own information. This will include your company name, your title, contact information, and any other pertinent content you’d like to include.
If you are not using a template or would like to add text boxes where there currently aren’t, click on the Text tab and drag the size or design text you’d like into the workspace on the right.
Change the Fonts and Colors to Match Your Brand
Your business card should be all about you and your business so it’s time to customize the fonts and colors to match your personal brand. You can do this by clicking into the text box and then using the toolbar at the top of the screen to change the font, the size, the color, bold or italicize the text, change the alignment and more. Canva offers over 130 fonts to choose from, so even if your font is not represented, you can match it with a similar one. Colors can be customized by clicking on the color box and then the + symbol. From there, you can enter in your color code and apply it to your design.
Upload Your Logo
Nothing can help identify your business faster than a logo. Logos can be uploaded into your design by clicking on the Uploads tab and then selecting “Upload your own images.” This will allow you to search your computer or cloud for the file you’d like to add.
Upload Any Photos or Other Imagery
You may choose to include a headshot or some other imagery on your business cards. To do this, you can follow the steps above to Upload your images, or you can choose from over 1 million stock images by using the white Search box at the top of that screen.
If you’d like to add a QR code, you can do so by uploading your PNG or PDF as an image and dragging it over to the workspace on the right.
Add Any Necessary Filters or Elements
Canva offers a variety of design features that can help you customize your business cards even further. This includes frames, lines, grids, shapes, illustrations, icons, and more. You can access these by moving into the Elements tab on the left hand side of the screen. Explore the different options and see what works best for you and your business. Again, you will have the opportunity to choose from free or paid designs.
The Background tab allows you to select different designs and colors for the background of your business card.
Save When Done
Once you are happy with your design, it’s time to print. In the upper right hand corner of the screen, you will see options for Share, Download, and Order Prints. This allows you to share the file with a team member to get their opinion, download the file to your computer to send do a print ship, or order your cards directly from Canva.
Canva recommends downloading the file as a PNG, however if you are printing with a third party, you may want to save it as a PDF which is the most compatible file for many print shops.
Related: 6 Picture-Perfect Photographer Business Cards [Showcase!]
Getting Your Business Cards Printed
If you click on Order Prints, you can take advantage of Canva’s printing service which uses the a variety of quality color, paper, and finish options. The cards will be delivered to your doorstep when they are finished.
If you are looking for impressive card stock, finishes, and printing methods (such as foil or die-cut), you can have your cards printed through SILKCARDS. Our premium printing options allow you to change the depth, texture, and design of your business cards to create a one-of-a-kind design that will make you memorable in every networking situation.