
 It can be hard to capture the essence of your business in a few words and images, but that’s exactly what you’ll need to do when designing business cards.
Instead of contracting it out to an outside design firm, you might try to design it yourself. It’s easier to get started than you might think, and the skills you learn could help you to improve all of your future marketing efforts.
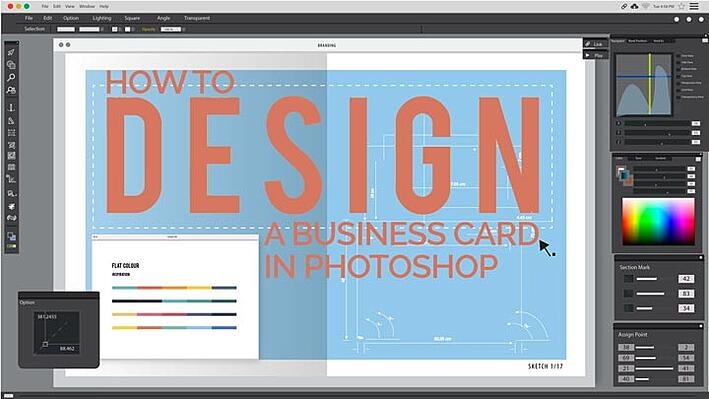
How to Design a Business Card in Photoshop
Even if you’ve never used Photoshop before, you could quickly get to work after learning some of the basics.
Figure Out What Dimensions Your Business Card Will Be
The standard business card size is 3.5’’ x 2”, but you don’t need to limit yourself to these dimensions. If you think a different size would be more appropriate for your needs, check out variations.
Some commonly-used alternative sizes are 1” x 3” for micro business cards, 2.25” x 2.25” for square-shaped ones, and 23.25” by 4” for foldable cards. You could surprise your new contact and leave a memorable impression with one of these unique sizes.
Add a __ In “Bleed” (Extra Space Around the Edges)
It’s important to include a bleed, or a margin running around the edges of your card. For a standard business card size of 3.5 x 2”, the bleed will be .25 inches, enlarging the card to 3.75’ x 2.25’.
You can use different sizes depending on your needs, but it will cut off the bleed after printing. The bleed can improve the appearance of your card by allowing for a more consistent print.
Ensure That the File Is Created With 300 PPI
Your business card can turn out blurry if you don’t design with the correct resolution set. Be sure to set your card’s resolution to 300 pixels per inch (PPI).
If you are using design elements which have fewer pixels, you’ll have to resample them in Photoshop to enhance their resolution. Your computer may also show you information about dots per inch (DPI), but this refers to the number of dots that will be physically printed on your cards, and isn’t relevant to your design needs.
Use the Type Tool to Add Text
You can use the type tool to create vertical or horizontal text, each of which is saved as its own layer within the Photoshop file. Real estate on your business card is extremely valuable.
You’ll want to prioritize space for contact information, ie, company name, location, phone number, and email address. If applicable, you can also include social media accounts that your clientele use most.
Import the File of Your Logo
To import your logo, create a new document in Photoshop. Then, open the image you wish to use as a separate file, or copy and paste it directly into Photoshop.
Your logo will have its own layer, which you can drag over your business card and re-size as necessary. Depending on your needs, you can make the background colored, transparent, or white, or change other aspects, such as its opacity. In addition, add a ⅛ border to your design, which will be trimmed off after the card has been printed.
Use Photoshop Elements to Enhance the Design
You can also use a business card template within Photoshop, which will automatically resize outside images you paste into it. Photoshop has a wide range of custom shapes in the Presets folder, but you also have the option of making some of your own.
In addition, you can create custom shapes by using the free transform paths option, located under the Edit tab. There are horizontal and vertical type tools for text, as well as tools to paint, blur, or otherwise manipulate images.
If You’re Designing for SILKCARDS…
Create different layers for each element of your card so you can also easily modify the design later if necessary. For example, if you have an embossing layer, create it separately over the layer that the embossing is being applied to.
You will also want to make sure your bleed and trim margins are in place and that your design is within them, Also, you can preview your card by changing the format from RBG to CYMK mode, which better matches the cyan, yellow, magenta and black printers use.
Figure Out What File Format Your Printer Wants & Save
Every printer will have different preferences regarding file formats, so it’s best to consult with them before sending them your designs. At SILKCARDS, we accept .ai, .pdf, .eps, .jpg, and .tiff files, meaning you have a great degree of flexibility when making your design choices. You can be sure that your cards will look picture-perfect when you make us your partner.
Once you start to learn how to design your own business cards, you’ll have an easier time sharing the essence of your business with others. SILKCARDS can be a elevate your designs and give you options you hadn’t considered, such as including texture, cutaways, layers and more.
SILKCARDS also offers varying thicknesses, including 36 ppt and 48 ppt stocks, allowing you create memorable cards your contacts can keep for years.